How to Submit Your Own Case
(to see the Free Cases, go to the Forum)
Please follow these directions very carefully, as computers don't allow much room for error.
1 Select a case that you would like opinions on or that you feel makes a good teaching point. Review other cases on eRadius to avoid duplication.
2 Study the format of the cases based on the Guest Professor page and the other Free Cases on the Forum. Examine them for format, not content, so you have an idea of the format of cases on eRadius.
3 Write in Microsoft Word (or any other word processing program) the History, Questions that help to bring out the teaching points you want to make or that answer questions you have about the case, and a Discusson.
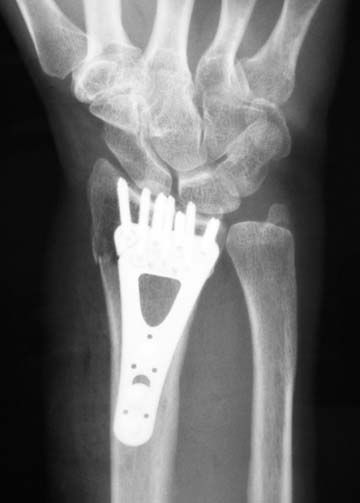
4 Take digital photos of the relevant xrays. You should include, if available, the injury films, traction films, and followup films. Include any special views (facet lateral, CT, etc) that you feel helps to make the point that you are trying to make or to pose the question you are trying to ask. Use the digital editing software that came with your camera, or software such as Photoshop, to do the following. (If you are new to this, it may help to print this page and check off each step as you do it.)
A First, change the image to greyscale. (Even though the image you see on your computer looks like it is in black and white, because it is a black and white image, the camera actually stored it in color. If you do this step first, it will speed up the processing of the later steps.)
B Rotate the image so that the radius is vertical, not slanted, with distal up and proximal down.
C (Optional) Flip the PA image so that the radius is to the left and the ulna to the right and the lateral image so the volar side is to the right.
D Crop the image to show only the area of interest. In general, only show the wrist from the distal edge of the capitate to about 3 inches down the radial shaft (see prior cases posted on the site).
E Resize the jpg to a height of 4 inches. (This is the same as 288 pixels if you are using 72 pixels per inch. This will make your images fit the screen easily and all the images on the same line will be the same height.)
F Evaluate the quality of the image. Does it need increased contrast? increased brightness? Modify contrast and brightness to demonstrate the details you are trying to show.
G Convert the digital image to jpg, if not already a jpg, and a resolution of 72 pixels per inch (the resolution of a PC screen). Save it in a Compression Quality Level 5 (medium compression). (Do not do this before cropping, resizing, etc., or you will decrease the quality of the final image.)
H Remove any patient identifiers from the xray or from the filename. Rename with discriptive names, such as injury_PA.jpg, injury_lat.jpg, post_red_PA.jpg, etc. Do not place spaces in the names, as the Internet cannot accept spaces in filenames the way your computer can.
5 Upload the jpgs to a photo hosting site, such as PhotoBucket
6 Click on Forum on the navigation bar on any eRadius page, click over to Free Cases, and start a new thread. Copy and paste your History. When you want to insert an image, insert the HTML code (Photobucket will provide you with this tag):
<img src='http://www.insert_the_name_of_your_image.jpg'>
Note that the format is a "<" symbol (this tells the computer that you are using HTML), followed by "img src=" (this is HTML code for "insert an image, and here is where you find it), followed by a single quote mark, ', followed by the URL of the image that you want to upload and have stored online at PhotoBucket or a similar website, like this: http://www.insert_the_name_of_your_image.jpg. Close the HTML with a single quote mark, ' (not a double quote mark, ") and the close tag code, >. You must follow this syntax exactly or it will not work. Computers are very picky this way.

|


